
 |
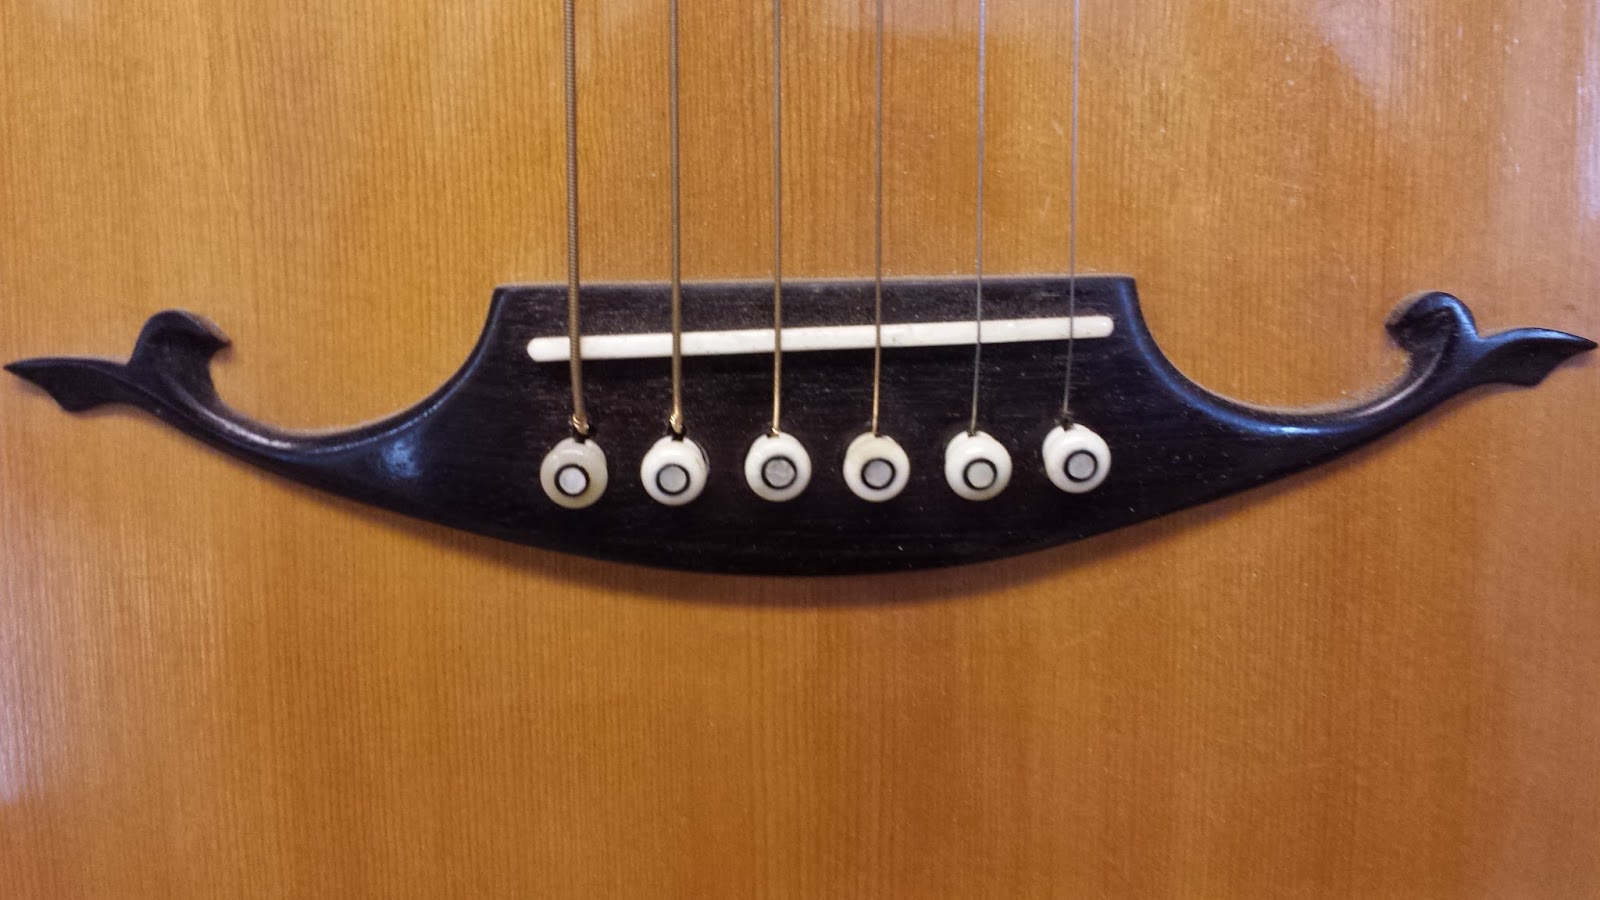
| Bone saddle and bridge pins |
Bone is an important but overlooked material used in guitars. We use bone for the nuts and saddles, and sometimes bridge pins. The quality of the material and the fit make a big difference in the tone and playability of an instrument. Bone blanks can be purchased from guitar suppliers, or they can be cut and shaped from bone itself. Not all bone is equal and there are a few things you need to know before you make a switch from the purchasing blanks to using the raw material. I'm going to point out a few of the things I've learned over the years.
I used to purchase bone blanks from suppliers. Eventually I became dissatisfied with the quality of some of the blanks I was getting. Sometimes the bone contained fillers, like chalk, other times there were cracks or fractures that weren't evident until I started carving. Very frustrating when you've purchased faulty material which you can't return. I also found that, when I ordered a blank that was supposed to be a certain thickness, they were often thinner than they were specified. So, if I ordered a 3/32" saddle blank, which should have a thickness of .093", the blank was actually ..085", which mean that it was too loose of a fit. A saddle needs to be snug in the slot in order to get the best tone, and to prevent a crack from developing in the front of the bridge, along the saddle slot. As a result I started ordering oversized saddle blanks and thinning them down on the belt sander. Finally, bone blanks are expensive, about $5 per nut or saddle blank ($10 per guitar). When you're making and repairing a lot of guitar, those costs add up. I don't mind spending money for quality material, but when I'm unsure about what I'm going to get, I mind spending money. All of these things added up to me making a switch, from purchasing blanks to making my own from the raw material.
When I first made the switch, I robbed my dog of some of his old bones which he had stripped of any and all tasty tidbits and hidden in the yard. After I had worked through that, I made a trip to the butcher and bought some nice thick bones (which the butcher sold as dog bones). Then I had to figure out how to process them so that they were usable in guitar work. The process is pretty easy and doesn't take all that long. Here it is:
 |
| 7 cow femur bones,cleaned and ready to be turned into blanks. |
First, it is necessary to strip the bones of any meat, marrow, and bits that aren't bone. The knuckles or joints need to be removed from the bone before removing the marrow. Most butchers will do this for you when you purchase the bone. All the marrow and bits of meat can be set aside and used to make a great beef broth. After you get as much as you can off the bones, boil them for 2 hours or so. I use this water for broth and (after I've removed the bones) add all the other bits I removed earlier. After removing the bones, I rinse them with hot water and scrape away any other bits that were clinging to the bone. All of this material should come off easily at this point. Sometimes I'll boil the bones in fresh water for another hour or so, to make sure they are completely free of grease and oil. After boiling them for a second time, I remove them from the water and let them sit for a few days to air dry.
 |
| 45 saddle and 35 nut blanks, + bigger pieces for bridge pins. |
After the bones are dry, I go over them with nut and saddle templates and a pencil, figuring out the best way to saw them in order to get the most, good quality blanks. Once I've penciled in my cutting lines, I cut up the bone on the bandsaw. Finally I put all of the blanks in a container with white gas, which can be purchased at most hardware stores as fuel for old time camping stoves and lanterns. I let the bone sit in the white gas for a week or two. After that the blanks are ready to use.
I sand the blanks to thickness and shape them on my belt sander, with a vacuum attached. A fresh 60 or 80 grit belt will make fairly quick work of it. I sand them as needed rather than sanding them all at once. My friend Aviva Steigmeyer developed a wonderfully simple, yet effective way to hold onto thin pieces of bone while your thinning them on the belt sander. Take a piece of masking tape, about 2" long, pinch it in the middle so that part of the tape sticks to itself, creating a little handle, stick the remaining tape to the bone you're trying to thin. Like this:


This is one of the best shop tricks I've ever learned and I'm always happy to pass it along. Thanks Aviva!
Now I know that while I've described this as a fairly simple process, there are people who will roll their eyes and say, "There he goes again." However, I'd like to break it down to simple math. This is a process I do about every year and a half. It provides me with enough material to last me that long. For the current batch of blanks, I went to the butcher and bought 7 cow femur bones for $24 (I'm not sure why he had 7 and not 8). I spent 1/2 hour cleaning the bone before boiling it. While it was boiling I was doing other work. I spent 15 minutes cleaning it a little further. I spent another 1/2 hour sawing the bone into rough blanks. From the 7 bones which I purchased for $24, I sawed 45 saddle blanks 35 nut blanks, and still had 4 large sections leftover which I can use for nuts, saddles or bridge pins (not to mention a great pot of soup). Saddle and nut blanks are usually between $4 to $5. If I had purchased these blanks from a supplier, at $4 a blank, the cost would have been $320, and I couldn't be confident about the quality of the material, or that they were thicknessed properly. Personally, I'm willing to spend a little time to save the money and be assured of the quality. I'd rather spend my money on wood.
Great info Todd. Thanks for posting. I have been making my own bone nuts and saddles for years. Can I ask what purpose (or effect) the white gas serves for the bone? Thx Craig
ReplyDeleteI think it is to further de grease the bone. Initially I used this article when I started using raw bone. It's a great resource: http://www.bearmeadow.com/build/materials/bone/html/bone-clean.html
ReplyDeleteThanks for this great post, i find it very interesting and very well thought out and put together. I look forward to reading your work in the future. Read More
ReplyDelete